Table of contents
Hi everyone,
Welcome to my blog. In this post, I will show you how to code your first DOM project.
In this project, We want calculation will be done on screen after we manipulate the DOM i.e. after clicking the button.

LINK- not-so-good-calculator.netlify.app
GitHub- github.com/shubhamsigdar1/Not-so-good-calcu..
What is DOM?
When we do rendering/Painting on our HTML and CSS in a browser i.e. make some changes and as we refresh our webpage all those changes are gone i.e. we re-rendered or repainted our HTML and CSS files i.e. called DOM
How we can add behavior and interaction to DOM so that we can manipulate the DOM?
We use JavaScript to manipulate the DOM
Note:-When we manipulate the DOM, We do not manipulate with actual HTML, CSS file
How to get started?
1. Install VS Code code.visualstudio.com/download
2. Install the extension(open in browser) in Vs Code.
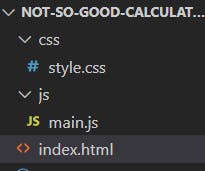
3. In your text editor, create a folder Daily Music Generator and then create three separate files i.e. HTML, CSS, and JavaScript. This basically makes your code more organized.

Let's Start working on projects
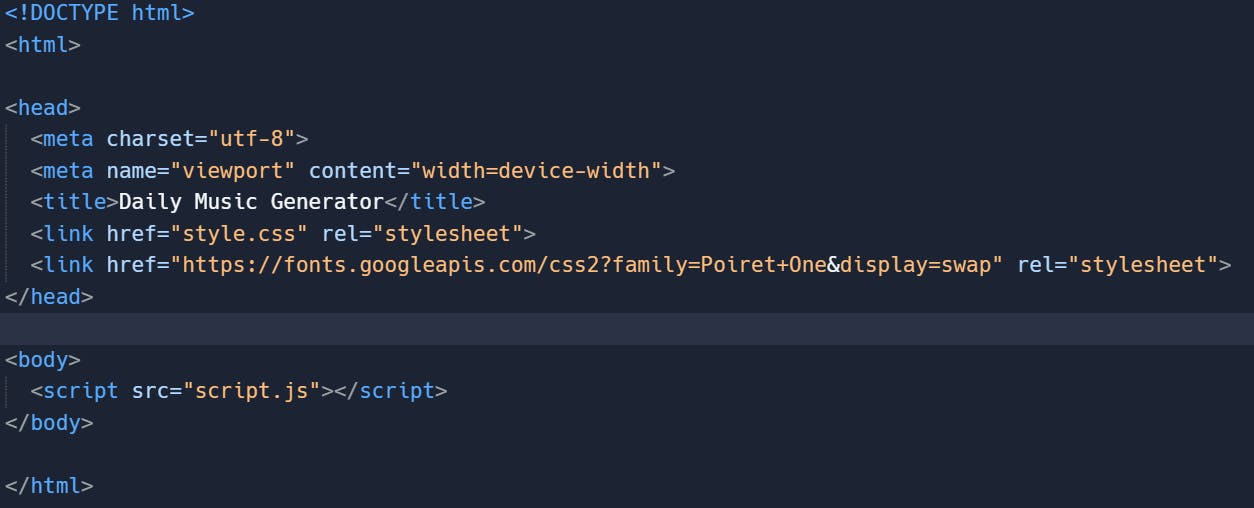
First, we start from HTML files, where you can link CSS and JavaScript files using the code below:

Below is the HTML code

In the above HTML code,
1. Code to link your HTML with the CSS file and we write it inside the head tag

2. Code to link your HTML with the JavaScript file and we write it inside the body tag

3. I use four section tag

Below is the CSS code


In the above CSS code,
1. How do I center the calculator middle of the page?


2. How I use flexbox in Calculator button section

- I give the parent section two property display: flex; and flex-wrap : wrap;
display: flex; Whenever we want to use flexbox, We have to apply display: flex inside the parent container
flex-wrap : wrap; This property helps you set the number of flex items you want in a line or row.
- I give the children i.e. button tag property flex: 1 0 21%; i.e. flex shorthand

flex-grow This property grows the size of a flex-item based on the width of the flex-container.
flex-shrink This property helps a flex item shrink based on the width of the flex-container. It's the opposite of flex-grow.
flex-basis This is similar to adding width to a flex-item, but only more flexible. flex-basis: 10em, for example, will set the initial size of a flex-item to 10em. Its final size will be based on the available space, flex-grow, and flex-shrink.

Below is the JavaScript code


In the above JavaScript code,
1. We want that when we click the button of a number then run the function(), For that, we write code

Note:- Please don't use the same name of the function as the id or class attribute, If you use then your button is not clickable in the DOM
2. We give the global variable total=0 because then we are able to assign a new value to the total inside the function.


3. What is the meaning of this line

We look for something in HTML that has id placeToPutResult and then we are going to put some text inside that tag and the text we are going to put inside is total.
