

Table of contents
- What is Ember.js?
- Let's Start working on projects
- Installing Ember CLI
- Creating a New Ember App with Ember CLI
- Starting and Stopping the Development Server
- Create a 404-page using ember generate route 404 command
- Working with HTML, CSS and Assets in an Ember App
- Note: I Used Bem Convention In HTML And CSS
- Automated Testing
- Note: I use data-test-selectors for picking up the DOM elements
- Conclusion
Hi everyone,
Welcome to my blog. This post will show you How to Make a 404 Page User Not Found Using ember.js frameworks. These issues are given to me in realdevsquad open-source project because they are migrating their website to ember.js. In this issue they want if the page does not exist on the website please redirect to the 404 page i.e. I need to show a page not found rather than a blank page when a router doesn’t exist.
What is Ember.js?
Ember.js is an MVC (Model-View-Controller) JavaScript framework used to develop large client-side web applications. In comparison to other JavaScript MVC frameworks, it gives you the ability to write organized and structured code. According to the Ember.js website, this enables you to build “ambitious” web applications
Let's Start working on projects
Installing Ember CLI
To make an ember.js project you have to install the latest version of Ember CLI by running the following command.$ npm install -g ember-cli
To verify that your installation was successful, run:
$ ember --version
ember-cli: 4.5.0
node: 14.19.1
os: linux x64
Creating a New Ember App with Ember CLI
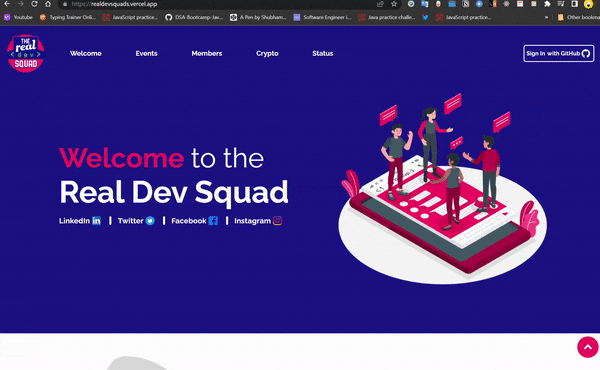
We can create a new project using Ember CLI new command. It follows the pattern ember new <project-name>. In my case, realdevsquad member who already created the project and whose name is "website-www" (Link of that github folder) using the following pattern ember new <project-name>.
Starting and Stopping the Development Server
Ember CLI comes with a lot of different commands for a variety of development tasks, such as the ember new the command that we saw earlier. It also comes with a development server, which we can launch with the ember server command:
$ ember server
building...

Build successful (9761ms) – Serving on http://localhost:4200/
The development server is responsible for compiling our app and serving it to the browsers. It may take a while to boot up. Once it's up and running, open your favourite browser and head to http://localhost:4200.
Create a 404-page using ember generate route 404 command
I define a route because my task is if the page does not exist on the website please redirect to the 404 page.
To define a route, run In Terminal
ember generate route route-name
This creates a route file at app/routes/route-name.js , and a template for the route at app/templates/route-name.has, and a unit test file at tests/unit/routes/route-name-test.js. It also adds the route to the router.
Same Way In the terminal, I write "ember generate route page-not-found" which creates 3 files inside the folder structure.
1. app\routes\page-not-found.js
2. app\templates\page-not-found.hbs
3. tests\unit\routes\page-not-found-test.js
Working with HTML, CSS and Assets in an Ember App
app\templates\page-not-found.hbs
{{page-title "Page Not Found"}} /* title of the page */
<div data-test-section class="page-not-found">
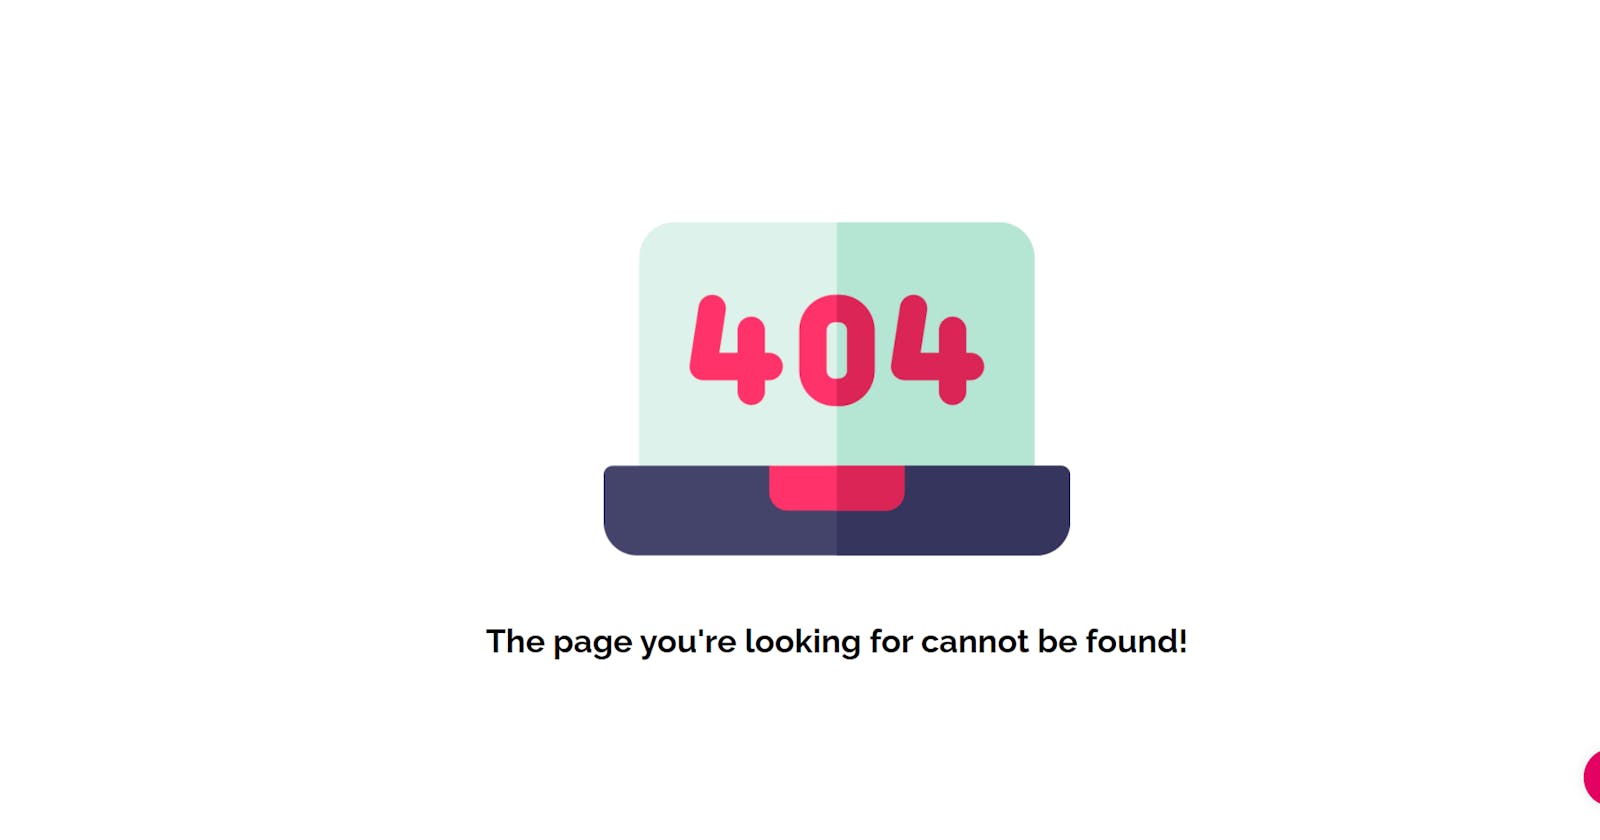
<img data-test-img class="page-not-found__img" src="../assets/images/not-found.png" alt="not-found">
<h1 data-test-text class="page-not-found__text">The page you're looking for cannot be found!</h1>
</div>
If you are thinking, "Hey, that looks like HTML!", then you would be right! In their simplest form, Ember templates are really just HTML. If you are already familiar with HTML, you should feel right at home here.
Of course, unlike HTML, Ember templates can do a lot more than just display static content.
app\styles\page-not-found.css
* {
  margin: 0px;
  padding: 0px;
}

body {
  box-sizing: border-box;
  font-family: 'raleway', sans-serif;
  background-color: var(--color-white);
}

h1 {
  font-size: 4.5rem;
}

h2 {
  font-size: 4rem;
}

input,
select,
button {
  font-family: 'raleway', sans-serif;
}

::-webkit-scrollbar {
  width: 0;
}
.page-not-found{
  display: flex;
  align-items: center;
  justify-content: center;
  flex-direction: column;
  min-height: 75vh;
  margin: 3rem 0;
}

.page-not-found__text{
  font-size: 1.75rem;
  text-align: center;
}

@media screen and (max-width: 625px) {
  .page-not-found__text{
    font-size: 1.5rem;
  }

  .page-not-found__img {
    width: 70%;
  }
}
If you are familiar with CSS, feel free to customize these styles to your liking!
When you are ready, save the CSS file; our trusty development server should pick it up and refresh our page right away.
As we learned earlier, the Ember convention is to place your source code in the app folder. For other assets like images and fonts, the convention is to put them in the public folder. We will follow this convention by downloading the image file and saving it into public/assets/images/not-found.png
Both Ember CLI and the development server understand these folder conventions and will automatically make these files available to the browser.
Note: I Used Bem Convention In HTML And CSS
The Block, Element, Modifier methodology (commonly referred to as BEM) is a popular naming convention for classes in HTML and CSS.
/\ Block component /*
.page-not-found {}
/ Element that depends upon the block \/*
.page-not-found__text {}
app\route.js
Now I need to show a page not found rather than a blank page when a router doesn’t exist. for ex: https://realdevsquads.vercel.app/sadjksjkasnna
In order to do this, we will need to tell Ember about our plan to add a page at that location. Otherwise, Ember will think we have visited an invalid URL!
The place to manage what pages are available is the router. Go ahead and open app/router.js and make the following change:
import EmberRouter from '@ember/routing/router';
import config from 'website-www/config/environment';

Router.map(function () {
  this.route('join');
  this.route('page-not-found', { path: '/*' });
});
You can confirm this by navigating to http://localhost:4200/snshdbs

Automated Testing
tests\unit\routes\page-not-found-test.js
Ember's built-in testing framework to write some automated tests for your app. By the end of this chapter, we will have an automated test suite that we can run to ensure our app is working correctly:
import { module, test } from 'qunit';
import { setupTest } from 'website-www/tests/helpers';
import { visit } from '@ember/test-helpers';
module('Unit | Route | page-not-found', function (hooks) {
  setupTest(hooks);

  test('it exists', function (assert) {
    let route = this.owner.lookup('route:page-not-found');
    assert.ok(route);
  });

  test('visiting /*', async function (assert) {
    await visit('/*');

    assert
      .dom('[data-test-img]')
      .hasAttribute('src', '../assets/images/not-found.png')
      .hasAttribute('alt', 'not-found');
    assert
      .dom('[data-test-text]')
      .hasText("The page you're looking for cannot be found!");
  });
});
Note: I use data-test-selectors for picking up the DOM elements
Reference Link: https://guides.emberjs.com/release/testing/testing-tools/#toc_ember-test-selectors
A best practice for testing is to separate the concerns between styling and testing. Class names and DOM structure change over time—for the better—by you, your team, and addon developers. If you rely on CSS classes, your tests will break and need a significant rewrite.
Ember Test Selectors is an addon that helps you write tests that are more resilient to DOM changes. You use data-test-* attributes to mark the elements that will be used in your tests. The addon works with QUnit DOM and helpers from @ember/test-helpers. It also removes the data-test-* attributes in the production build.
We can put our automated test into motion by running the test server using the ember test --server command, or ember t -s for short. This server behaves much like the development server, but it is explicitly running for our tests. It may automatically open a browser window and take you to the test UI, or you can open http://localhost:7357/ yourself.
If you watch really carefully, you can see our test robot roaming around our app and clicking links:

Conclusion
In this tutorial, you have learned how to create 404 pages and how you show a page not found rather than a blank page when a router doesn’t exist using ember.js.